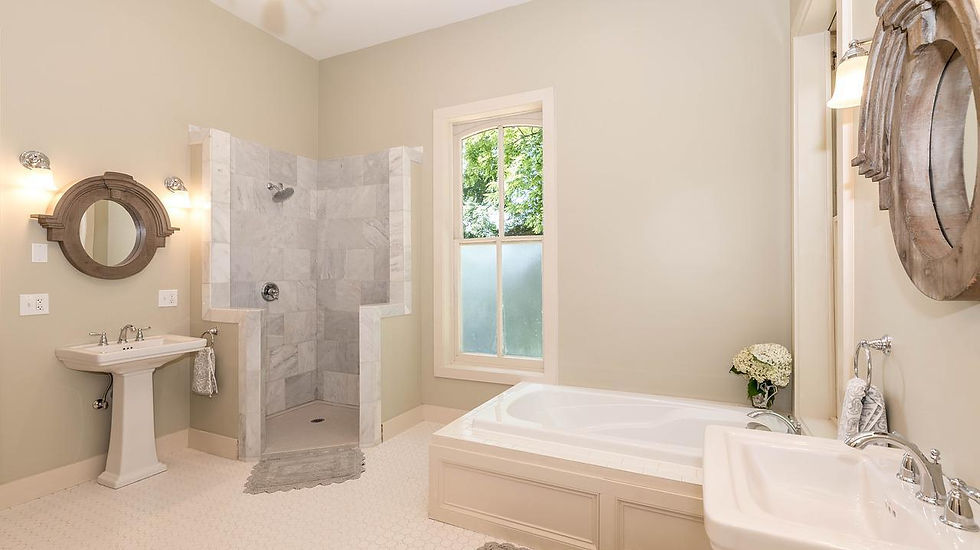
Why Some Bathrooms Just Feel Better — And How to Plan Yours That Way
- Milia Musina
- Jul 25, 2025
- 3 min read
Updated: Aug 14, 2025

Bathroom Renovation Checklist: Plan Like a Pro
Want a bathroom that’s not just pretty — but practical, safe, and easy to clean? This checklist helps you plan every detail.
From fixture spacing and waterproofing to lighting, ventilation, storage, and material selection — this guide covers what really matters in everyday use. Whether you're doing a full remodel or just updating finishes, you’ll know what to measure, what to buy, and what not to forget behind the tiles.
1. Think First — Before You Demo
Who will use the bathroom? (Adults, kids, >elderly, guests?)
Do you need a bathtub, shower, or both?
Is this the only bathroom in the house?
What’s your storage need: towels, cosmetics, cleaning products?
Do you need a washing machine or drying rack here?
Tip: Prioritize comfort and practicality over just looks — especially in small spaces.
2. Bathroom Planning & Ergonomics
Fixture | Minimum Clearance (Front) | Side Clearance | Recommended Height |
Toilet | 60–70 cm | 20–30 cm | 40–43 cm (seat) |
Sink | 70–80 cm | 10–15 cm | 85–90 cm (top) |
Bathtub | 70 cm min access side | — | 55–60 cm height |
Shower | 90×90 cm min size | — | 200–210 cm height |
Washing machine | 70–90 cm (front-load) | — | 85–90 cm top |
All zones must be accessible and comfortable to move around
Allow at least 50–60 cm between fixtures for comfortable movement
Avoid door collisions with fixtures or each other
Think of future-proofing for older users or kids (non-slip flooring, grab bars)
Use masking tape or Home Planner to simulate layout with real sizes.


3. Plumbing & Waterproofing
All pipe reroutes planned BEFORE wall finishes
Choose quality valves, filters, shut-off taps
Hidden cisterns need access panel
Waterproofing layer (membrane or liquid rubber)
At least 20 cm up the walls
Full floor and corners
Slope to drain in shower/wet zones (min 1.5–2%)
Water hammer arrestors for appliances (optional but smart)
Tip: Take photos of plumbing before covering it up — for future repairs.
4. Electrical & Lighting
Only IP44+ rated fixtures near water sources
GFCI (residual current device) required
At least one outlet away from splash zones (e.g., near mirror)
Plan for:
Main ceiling light
Mirror/vanity light
Optional: accent LED strip (under cabinet, niche)
Light switch outside the bathroom (safety rule in many countries)
Add backlight to mirrors for both function and style.

5. Storage & Functionality
Closed cabinet under sink
Vertical storage: shelves, mirror cabinet
Hooks or rods for towels, robes
Niche or shelf in shower for bottles
Laundry bin (hidden if space allows)
Use shallow cabinets (30–35 cm) to save space but gain storage.

6. Materials & Surfaces
Slip-resistant floor tiles (R10–R11 rating)
Easy-clean grout (epoxy or colored)
Waterproof wall finishes (tiles, panels, microcement)
Avoid porous natural stone unless sealed
Ceiling: moisture-resistant paint or stretch ceiling
Use darker grout or textured tile on floors — hides stains and hair better.

7. Appliances & Fixtures
Toilet with soft-close lid
Sink with overflow
Wall-mounted vs. floor-standing — depends on cleaning priority
Thermostatic shower mixer = constant temperature
Bathtub with ergonomic backrest (if used often)
Compact washer (depth 40–45 cm) if tight space
Bidet optionally
Tip: Don’t install ultra-narrow sinks — they’re uncomfortable daily.

8. Before and After Construction
Before:
Take accurate measurements
Confirm all positions (plumbing, outlets, light)
Double-check tile layout before buying
Order all fixtures in advance
Create checklist of what goes where (with photos)
After:
Test all taps, drainage, switches
Check silicone seals, tile alignment, and slopes
Ventilation works properly (paper test near vent)
Final cleaning + silicone protection
Save all warranties, manuals, invoices
Plan your bathroom with Home Planner and avoid costly layout errors.
Use real fixture dimensions to test your layout in 2D and 3D. Walk around the virtual space, check door swings and plumbing zones, and visualize tile color combos and lighting placement. You can:
Position bathtubs, showers, toilets, sinks, and appliances
Simulate light layers and outlet safety
Preview smart storage solutions (niches, mirror cabinets)
Export your plan with exact measurements for contractors
Think it through before you break the tiles.
Download Home Planner and design your bathroom with confidence.

Try the best interior design app Home Planner
Measure your space, create stunning 2D/3D floor plans, decorate and furnish your interior with world-famous brands, make professional visualizations, and get inspiration from predesigned layouts for your bedroom, bathroom, living room, etc.


